Anasayfa
Hakkımda
Hizmetler
WordPress
Web Yazılım Geliştirme
Proje Tasarım ve Analizi
E-Ticaret
Dijital Pazarlama
Markalaşma
Projeler
Blog
İletişim
İletişim
İletişim
View Categories
Başlangıç
Dokümanlar
Photozone
Photozone Installation
Photozone Installation
< 1 min read
Go to your WordPress dashboard.
Navigate to
Appearance
>
Themes
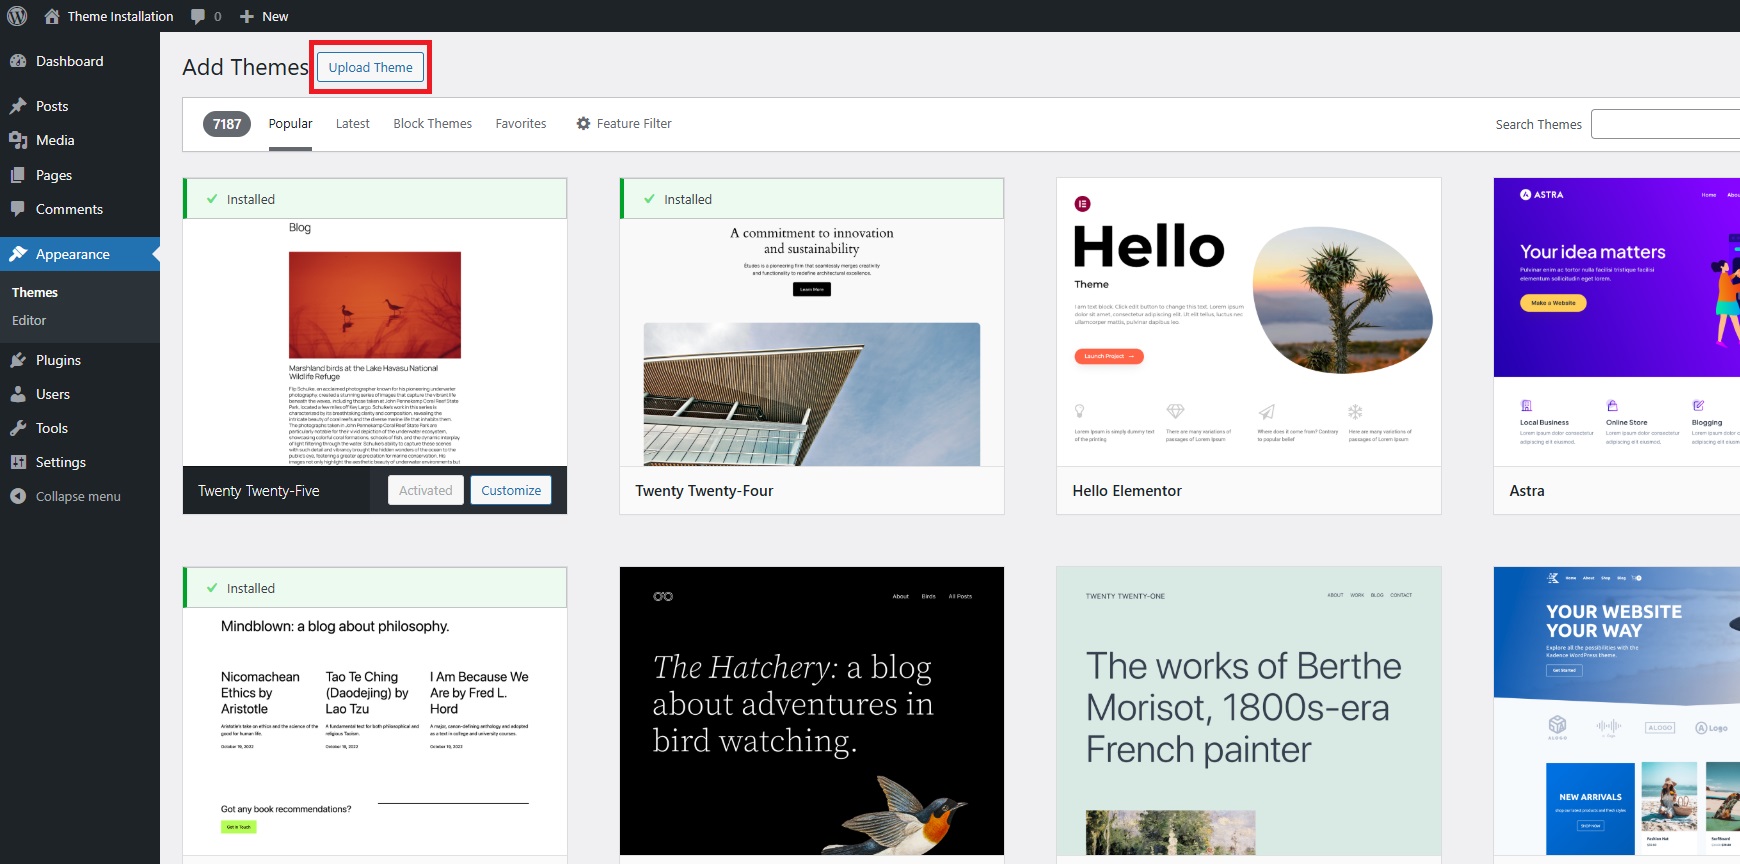
Click the
Add New
button at the top of the Themes page.
Select
Upload Theme
and choose the theme Wonder Wall.zip file from your computer.
Click
Install Now
to upload the theme.
Click
Install Now
to upload the theme.
Once installed, click the
Activate
button to enable the theme on your site.
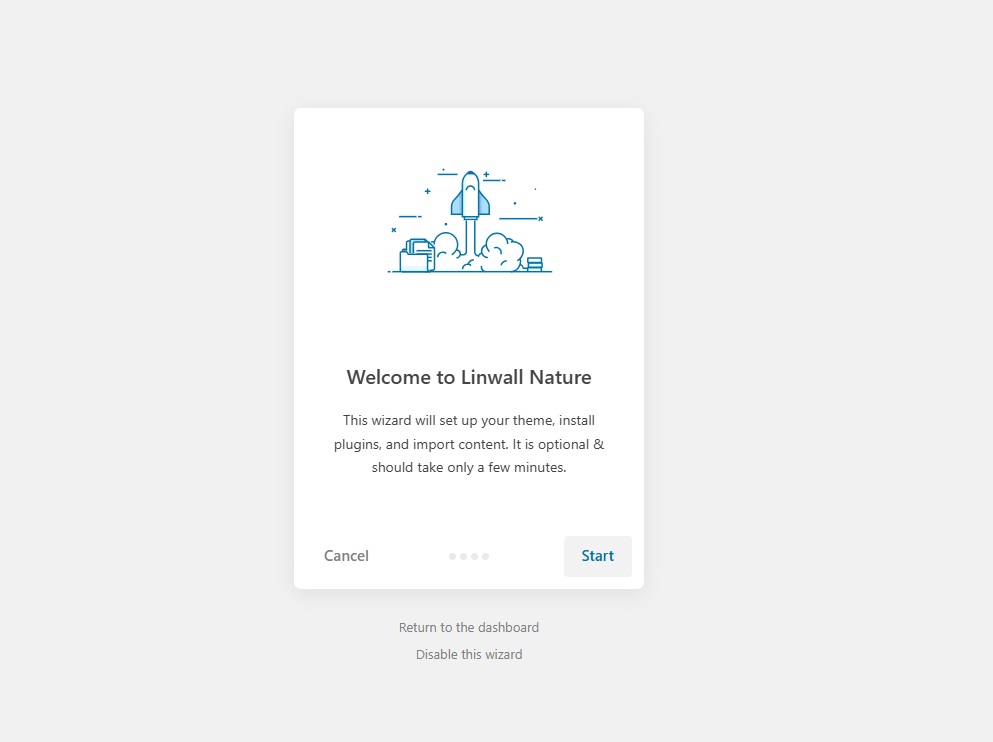
After activation, a popup or notification will prompt you to start the Merlin setup wizard.
Click the
Start
button to proceed.
Install and activate the recommended plugins.
Import demo pages, posts, and settings (this may take a few minutes).
Once all steps are completed, click the
View your website
button to finalize the setup.
Your theme is now installed and ready to use!
Photozone Widgets / Sidebar
Photozone Header Settings
Leave a Reply
Cancel reply
Save my name, email, and website in this browser for the next time I comment.
Post Comment
Post Comment


Leave a Reply